%20500x1200.png?width=200&height=83&name=ALK%20Tech%20Logo%20(TransparentTextured)%20500x1200.png "ALK Tech Logo (TransparentTextured) 500x1200")
Available in black or white, the new Zalman ZM-VS3 DS is a budget-friendly GPU support stand that features a basic LCD display screen capable of showing your CPU and GPU temperatures as well as the time.
GPU support stands have come to be essential accessories for PC builds that utilise mid-to-high-end graphics cards, given how hefty and large said graphics cards have gotten over the years. It's unsurprising then, that GPU support stand/bracket manufacturers would eventually take liberties to spice up what would otherwise be a boring piece of kit, which explains why GPU support stands with ARGB LED accents and even LCD display screen would eventually be introduced to the DIY PC market, targeted at folks looking to jazz up the appearance of their PC builds.
While such GPU support stands with built-in LCD screens have been available on the market for some time now, such products tend to be no-name OEM offerings, which is why the Zalman ZM-VS3 DS stands out, in that it's one of the few GPU support stands that come with a built-in LCD display screen from a branded PC component manufacturer. Available in black or white, read on to learn more about the Zalman ZM-VS3 DS, and to see it as part of a demo PC build!
Packaging
.jpg)
.jpg)
In terms of packaging, the GPU support stand ships in a rectangular box with a purple-and-white colourway, with information on its specs peppered on all sides of the box.
.jpg)
As can be seen, apart from the ZM-VS3 DS, we get absolutely nothing else in terms of accessories, though its good to see that the GPU support stand is pretty securely packaged within the box.
Product Walkthrough
.jpg)
.jpg)
First impressions, the ZM-VS3 DS is made of a combination of plastic and steel, where the built-in LCD screen’s housing and accompanying aesthetic accent is made of plastic, and the GPU support itself is made of steel. Appearances wise, fans of RGB lighting for their PC builds will be pleased to note that the ZM-VS3 DS does come with an aesthetic ARGB LED strip to the left of the Zalman logo, which can be controlled directly by your motherboard’s on-board ARGB header.
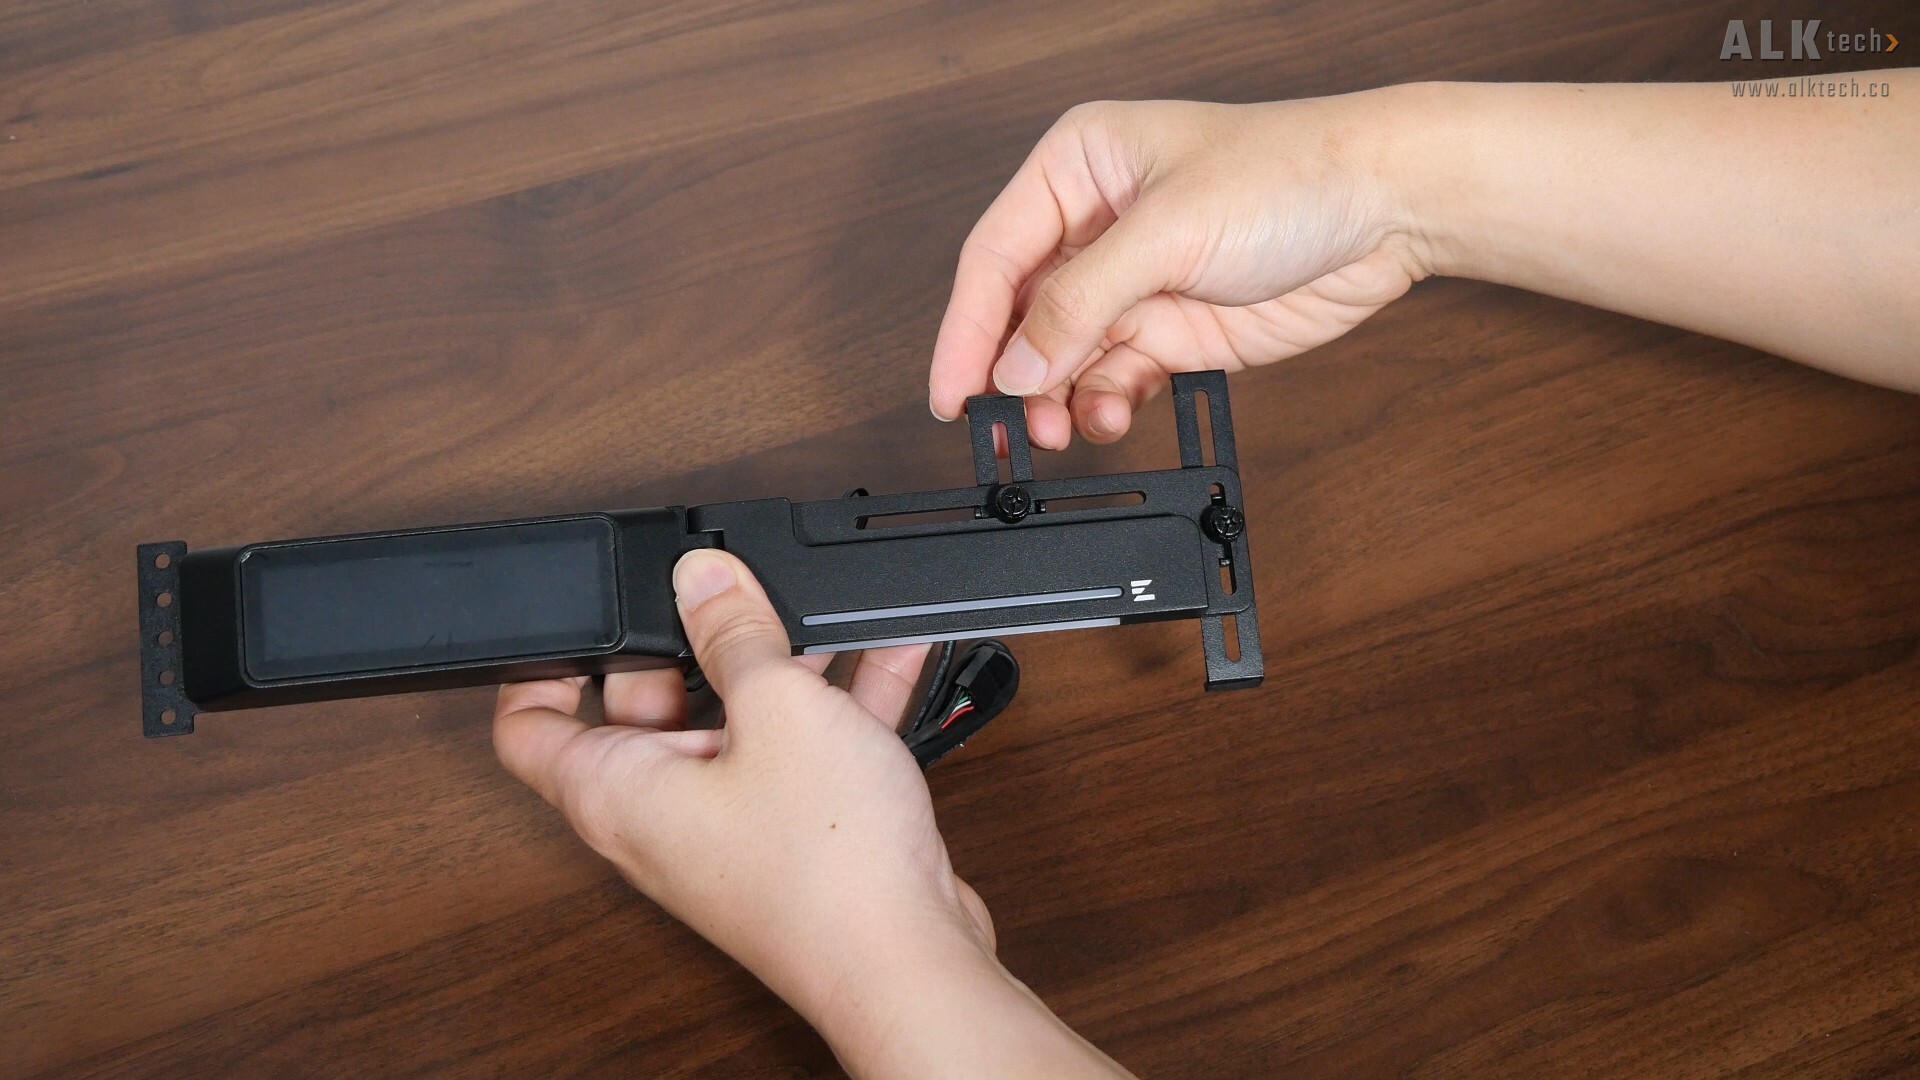
Adjustments wise, the ZM-VS3 DS offers both horizontal and vertical height adjustments, where these adjustments can be made by loosening the corresponding thumbscrews and adjusting the rails accordingly.
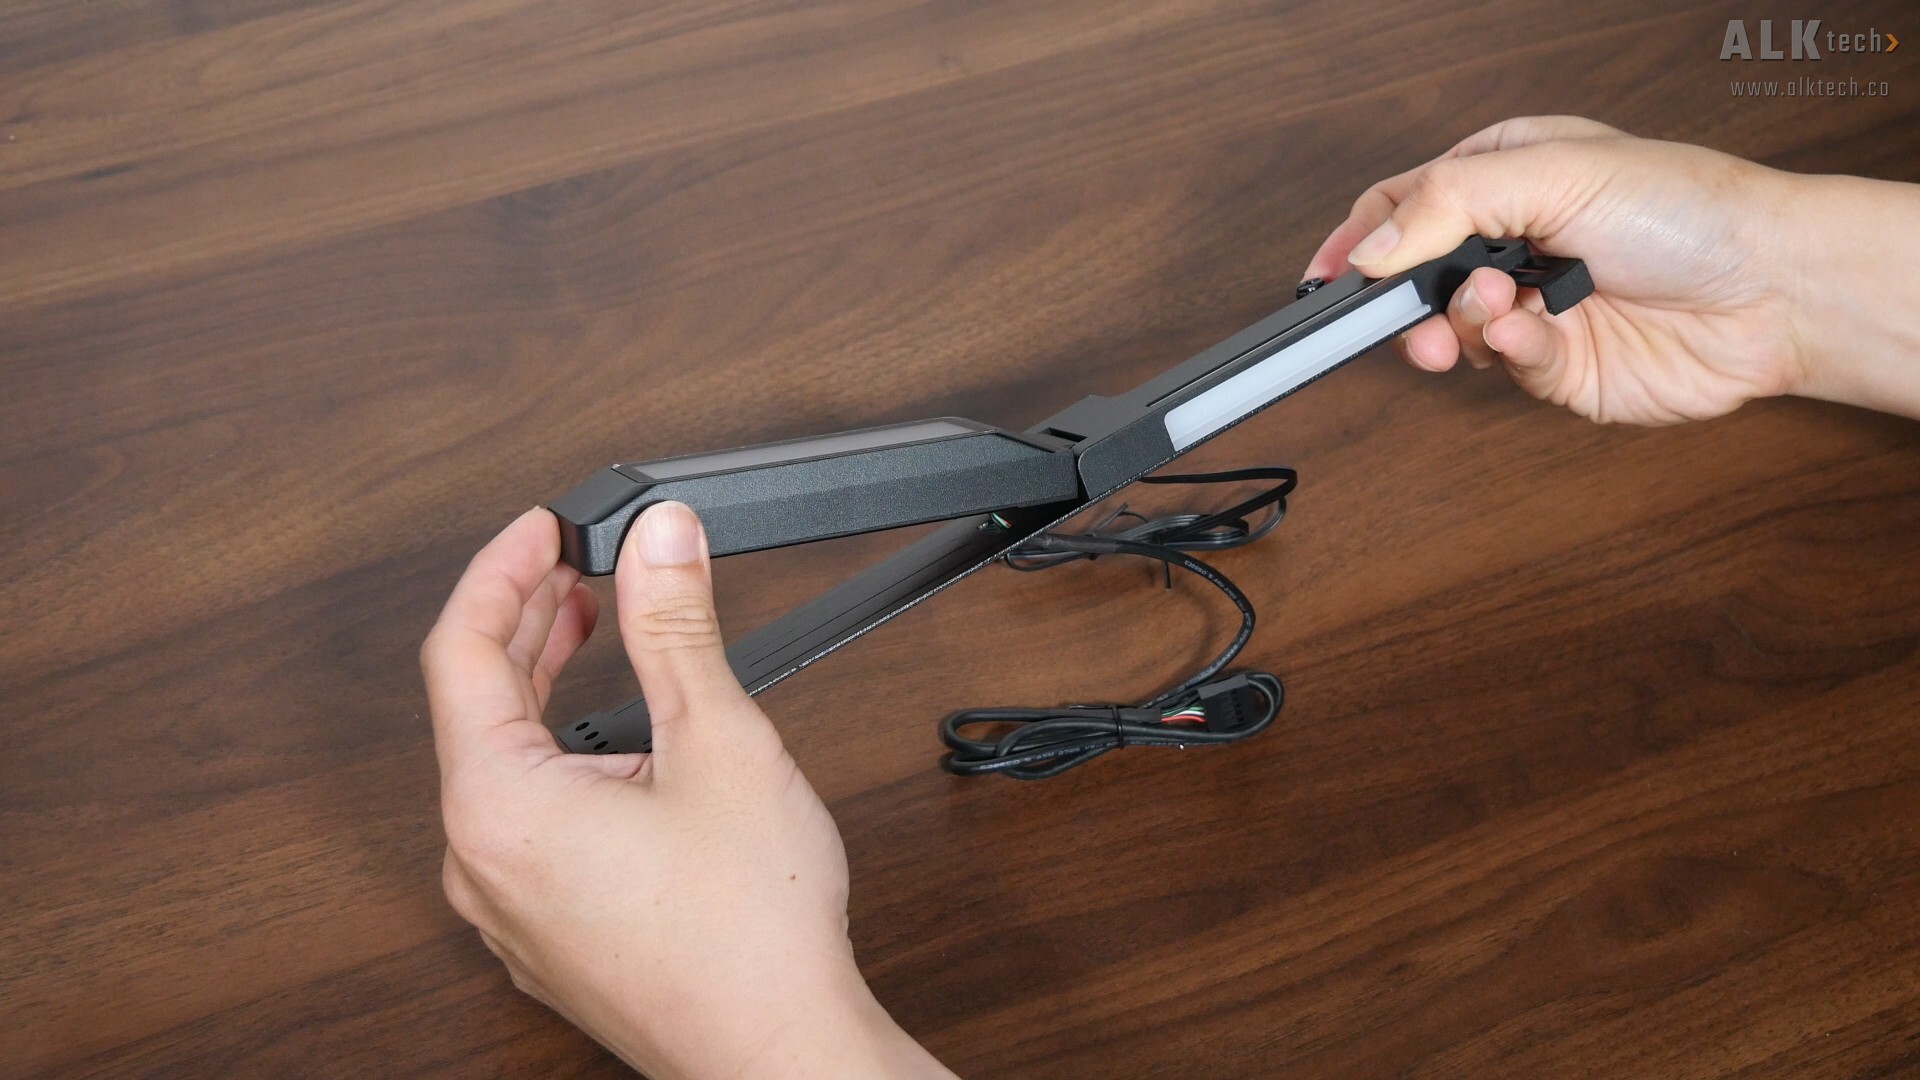
Also, it’s worth pointing out that the screen assembly is mounted on hinges, and you can adjust the position of the screen accordingly to suit your desktop setup, which is a nice feature to have for sure. The build quality of the hinge mechanism is on the cheaper side of things, where it was a little loose at certain angles.
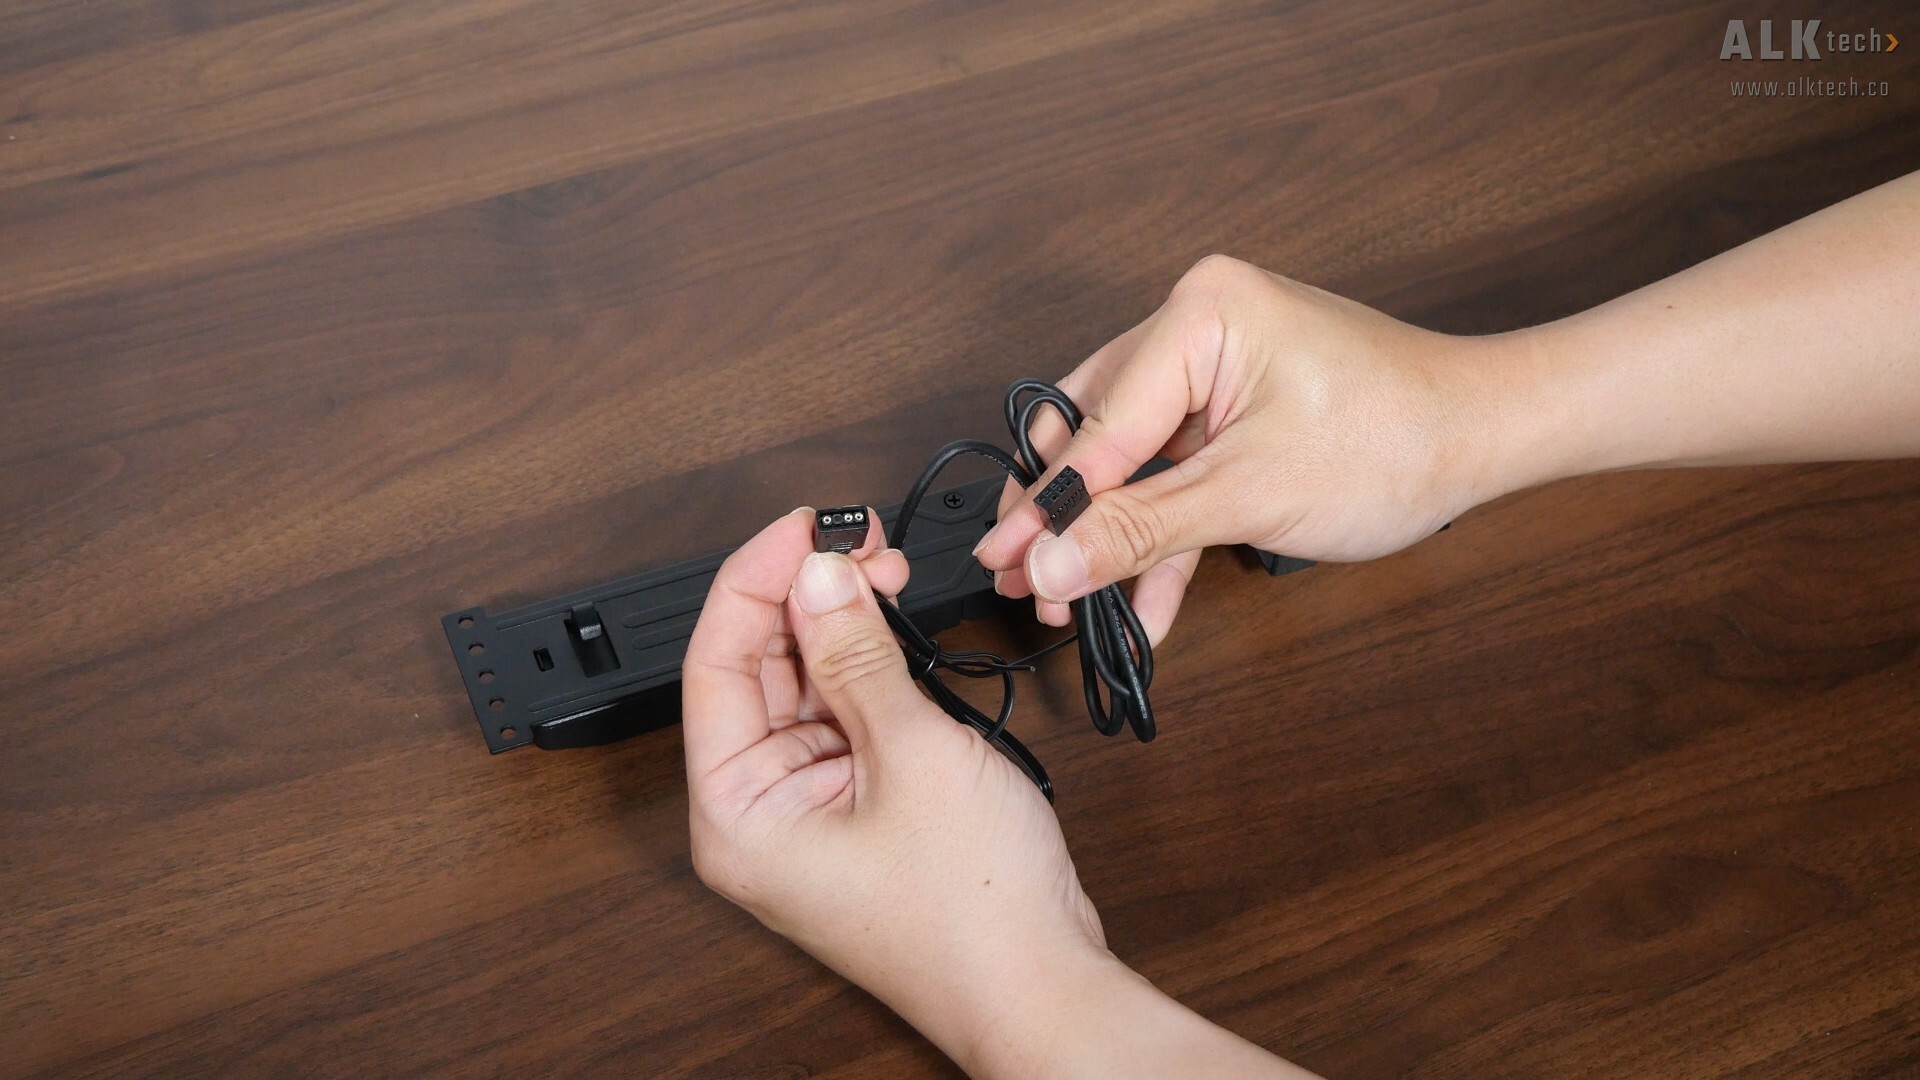
In terms of connectivity, the ZM-VS3 DS comes with a three-pin ARGB connector, as well as a nine-pin USB 2.0 connector – you’ll have to hook both connectors up to your motherboard in order to enable the ARGB LED accent and the LCD display screen respectively. One important thing to mention is the length of the included cables, which is information that isn’t included in the specs sheet for this product, so I’ve taken the liberty to do some actual measurements.
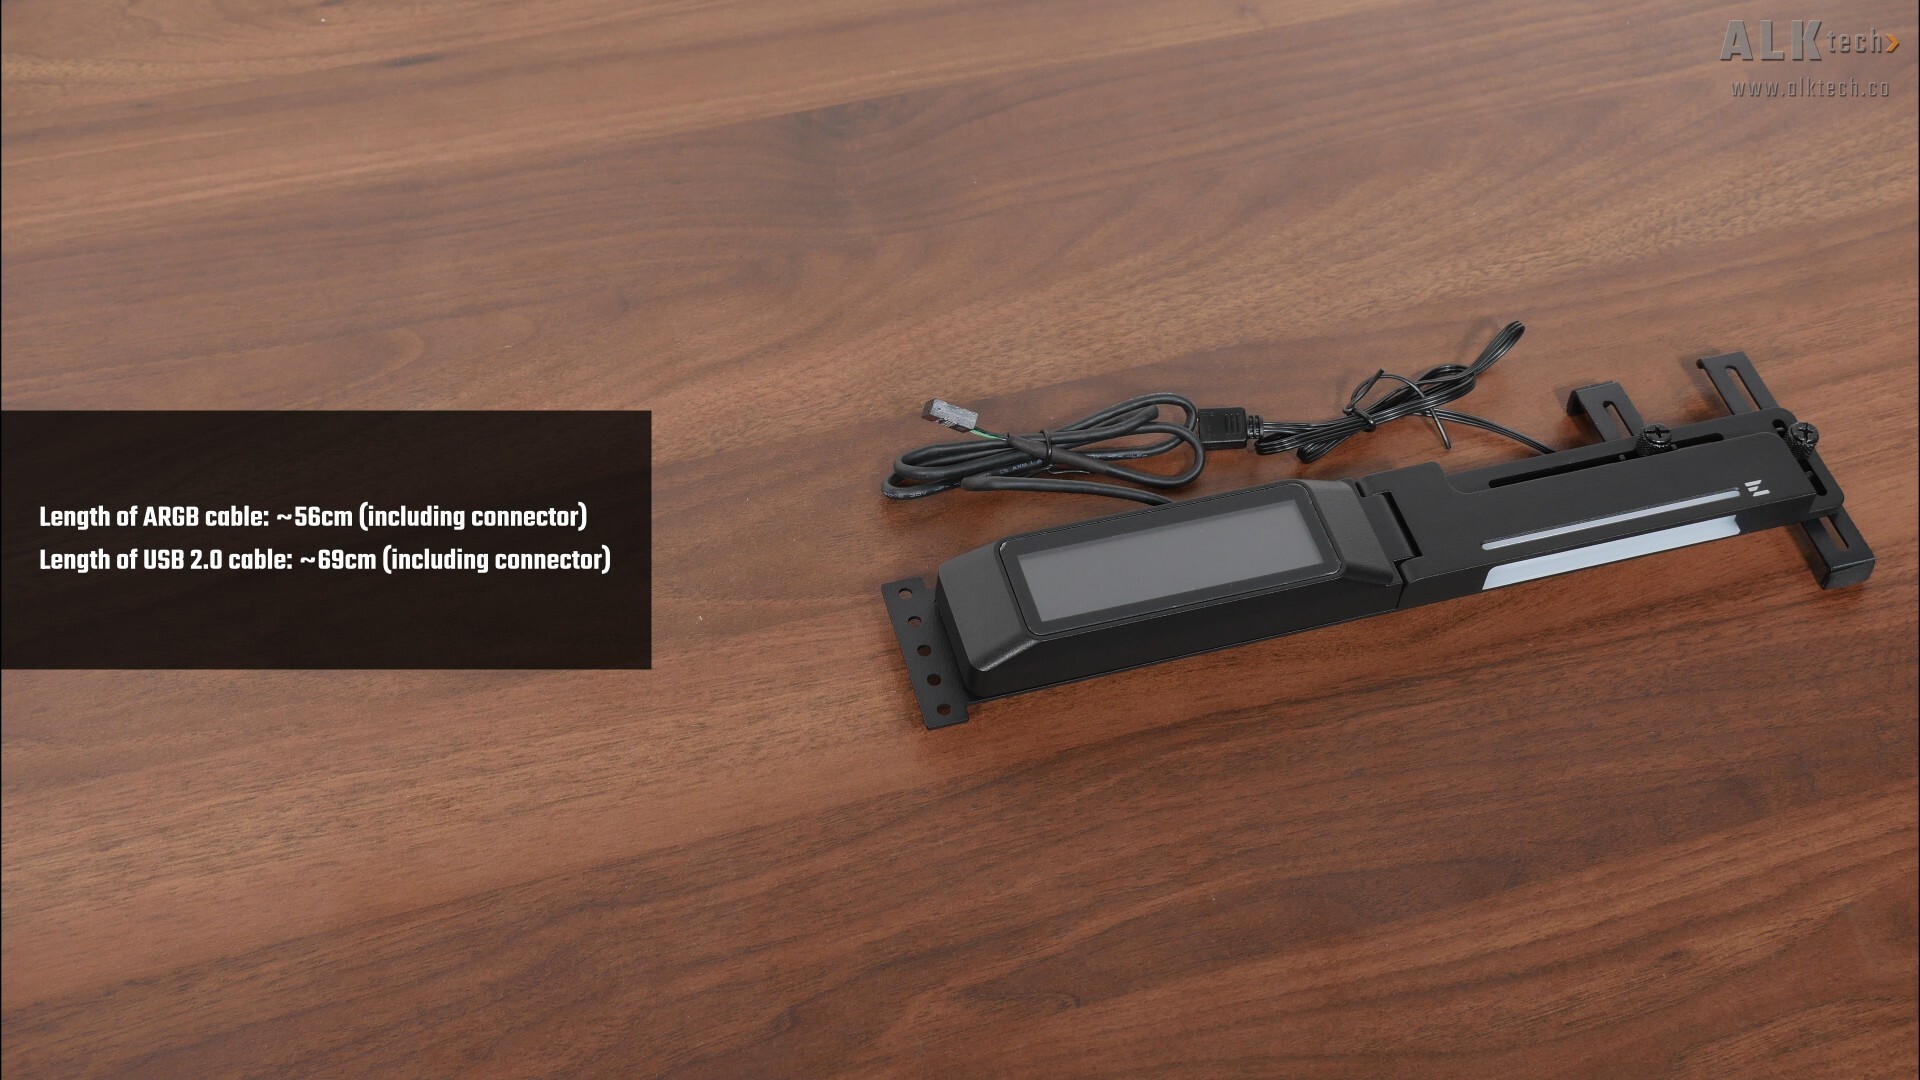
The cable that terminates in the three-pin ARGB connector measures in at approximately 56cm in length including the length of the connector, whilst the cable that terminates in the nine-pin USB 2.0 connector measures in at approximately 69cm in length, also including the length of the connector.
Specifications
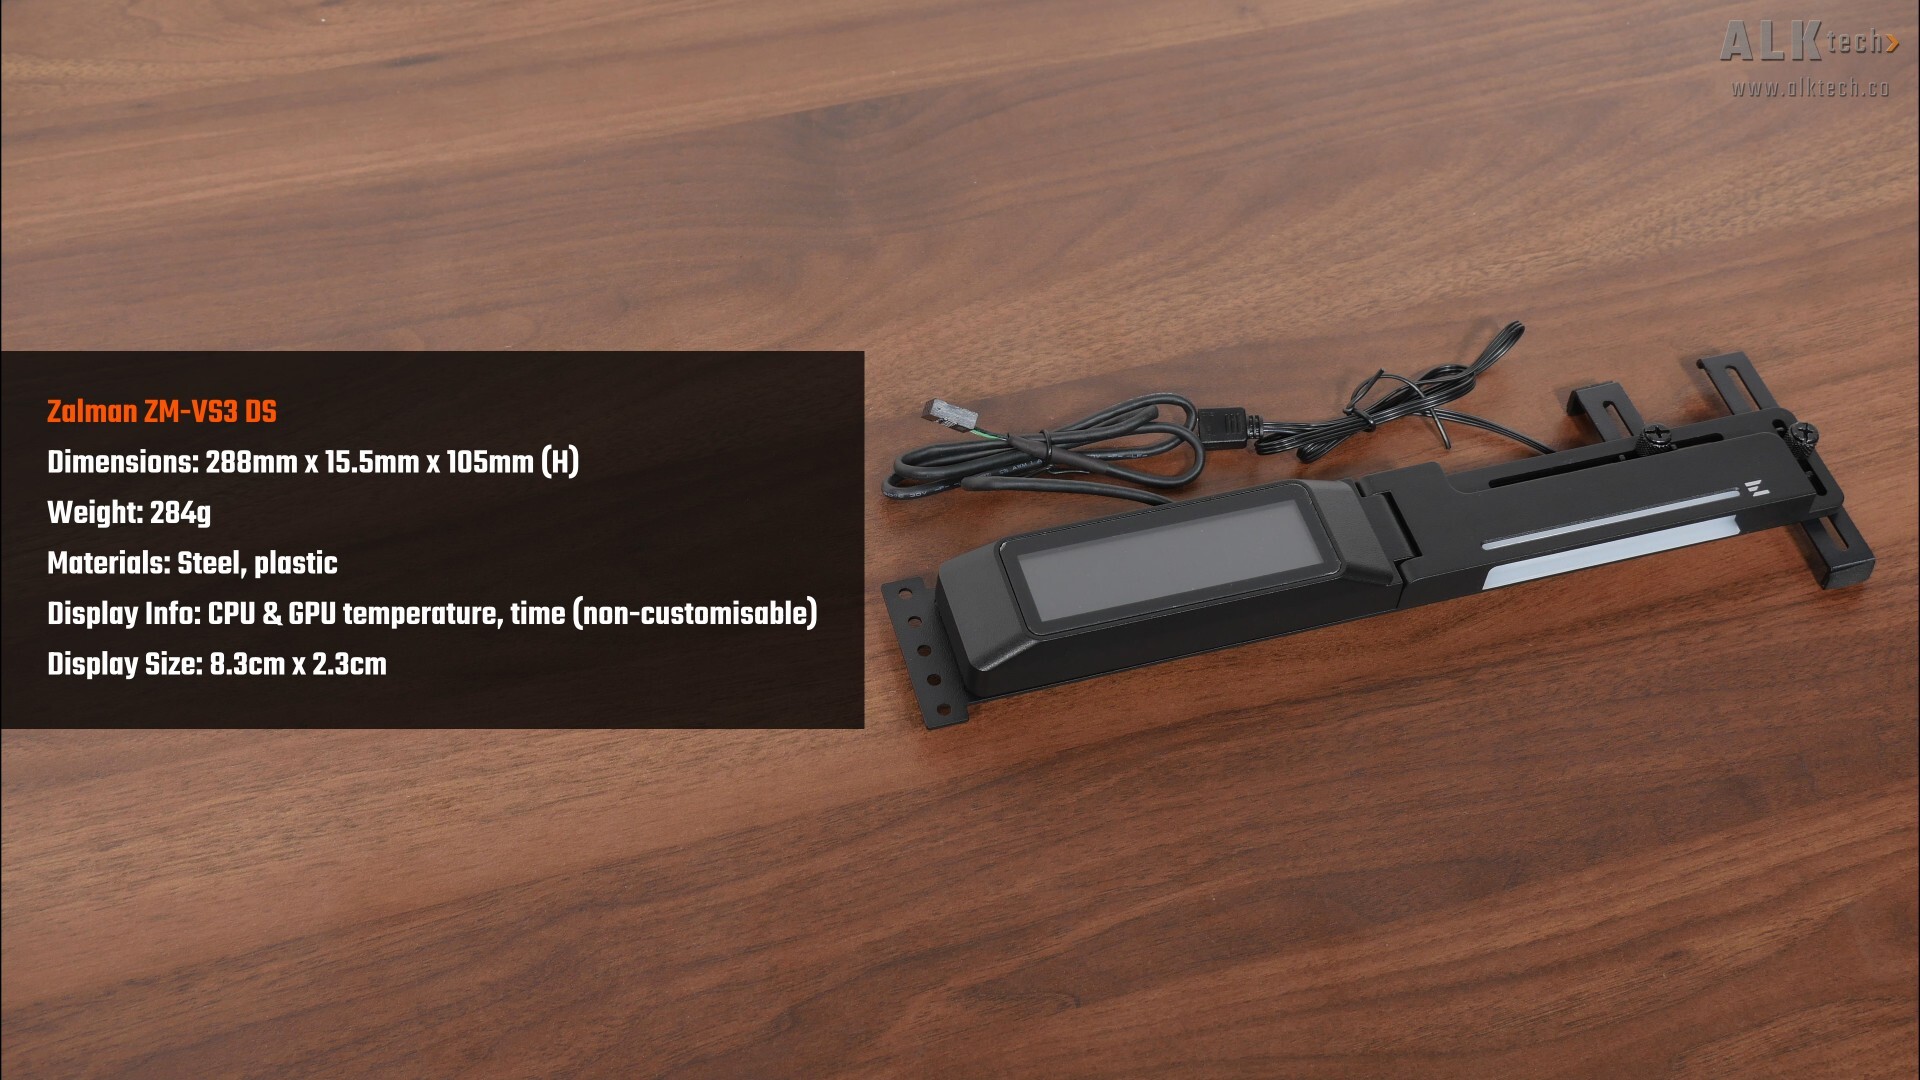
Let’s run through the specs of the ZM-VS3 DS real quick. The product page for this GPU support stand doesn’t really share the specs of the included LCD screen, such as the screen size, resolution, refresh rate and so on. I guess this isn’t all that surprising, seeing as this is supposed to be a more budget-oriented product offering after all, where the screen can only display your CPU and GPU temperature, as well as the time, with no options for further customisations. That said, I used a ruler to measure the size of the screen, and it measures in at 8.3cm by 2.3cm.
Installation Experience
.jpg)
Installation wise, the ZM-VS3 DS is to be mounted by means of the screw holes of your PC case’s expansion slot openings, where we get five screw hole openings accordingly next to the LCD screen. Do note that due to the design of the ZM-VS3 DS, it might not fit in microATX cases that have tight confines, and it also might not fit in some ATX cases where the screw holes for the expansion slot openings are obscured.
.jpg)
.jpg)
In addition, if you’ve got a very thick graphics card, you might have to remove the vertical rail entirely so that the ZM-VS3 DS can fit properly, such as in this example where I’ve got a real chonker of a graphics card installed, a Gigabyte AORUS GeForce RTX 4090 MASTER 24G, which is pretty much one of the largest flagship graphics cards around. As can be seen, the ZM-VS3 DS only fits if you remove the vertical rail, though this isn’t ideal, as the GPU support stand wouldn’t be as stable than if the vertical rail were to be in place.
.jpg)
.jpg)
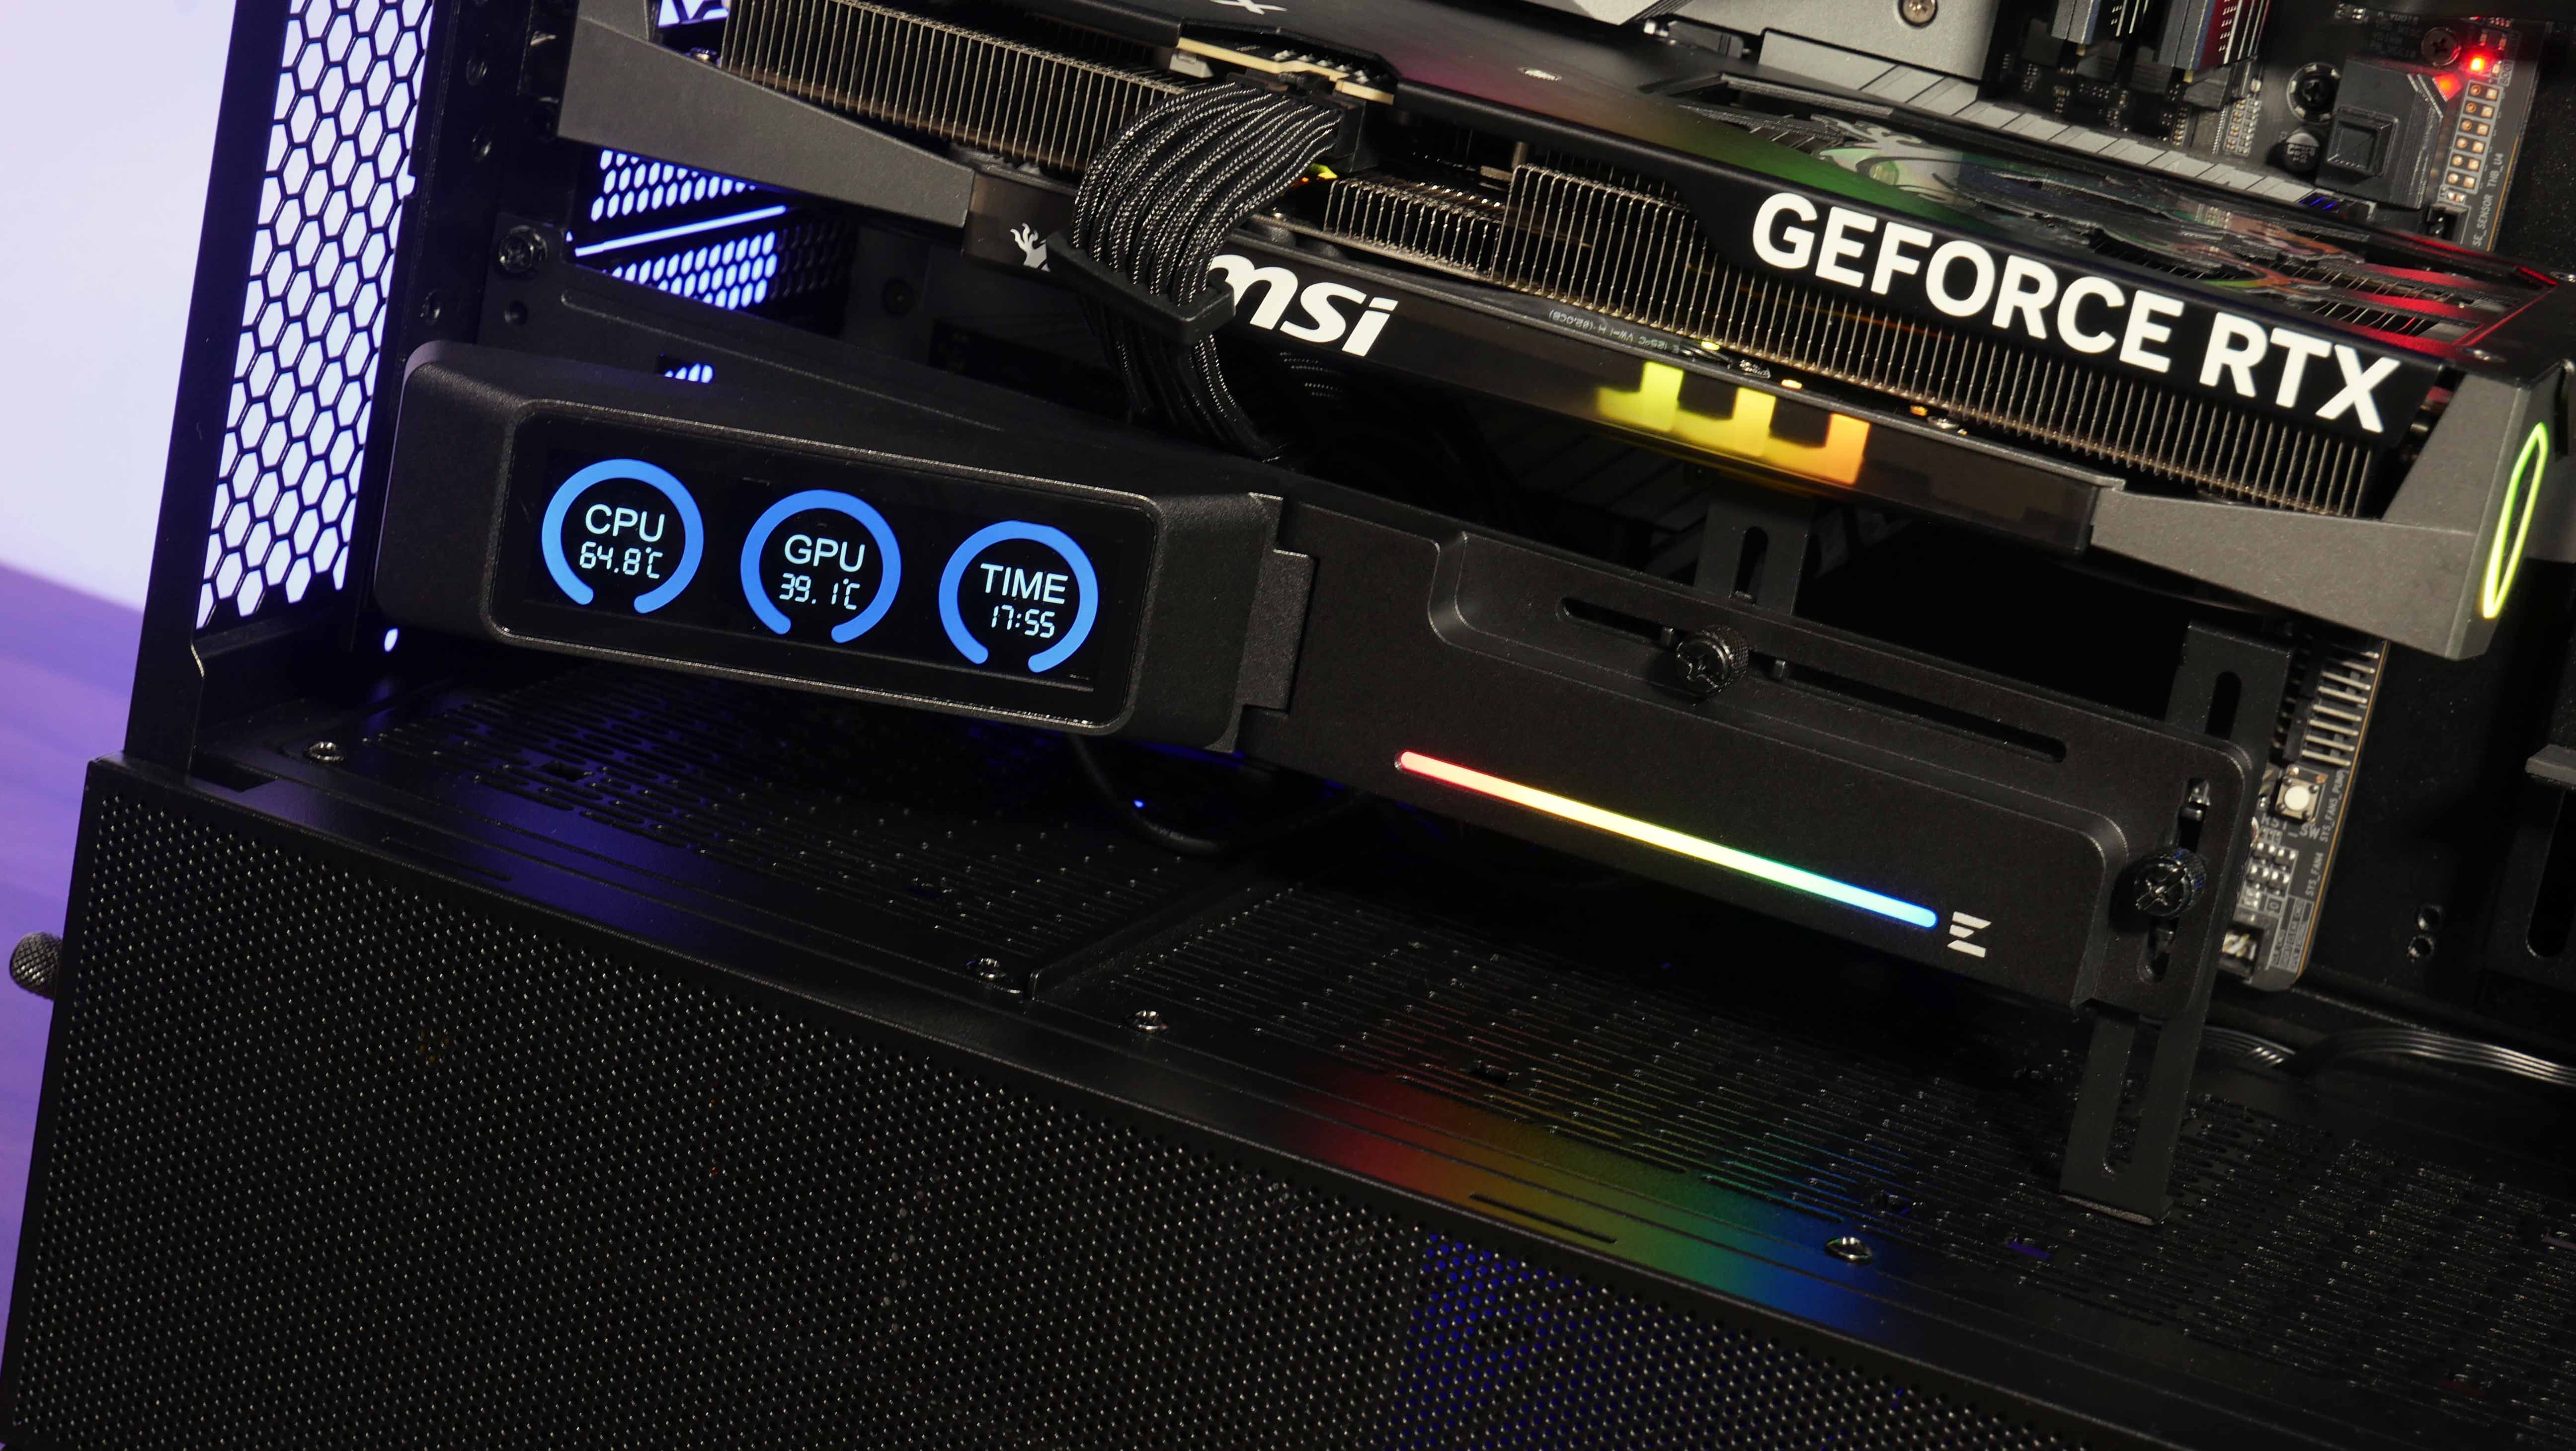
For the purposes of this review video, I have the ZM-VS3 DS installed inside of a test bench PC that utilises a Lian Li LANCOOL 217 INF PC case and a MSI GeForce RTX 5060 Ti 16G GAMING TRIO OC graphics card, which is a lot slimmer than the AORUS RTX 4090 that I showed earlier. The installation experience was pretty straightforward, and I didn’t experience any issues at all, though as mentioned earlier, you’ll want to do your own homework to make sure that the ZM-VS3 DS fits properly inside your PC build in terms of spatial clearances.
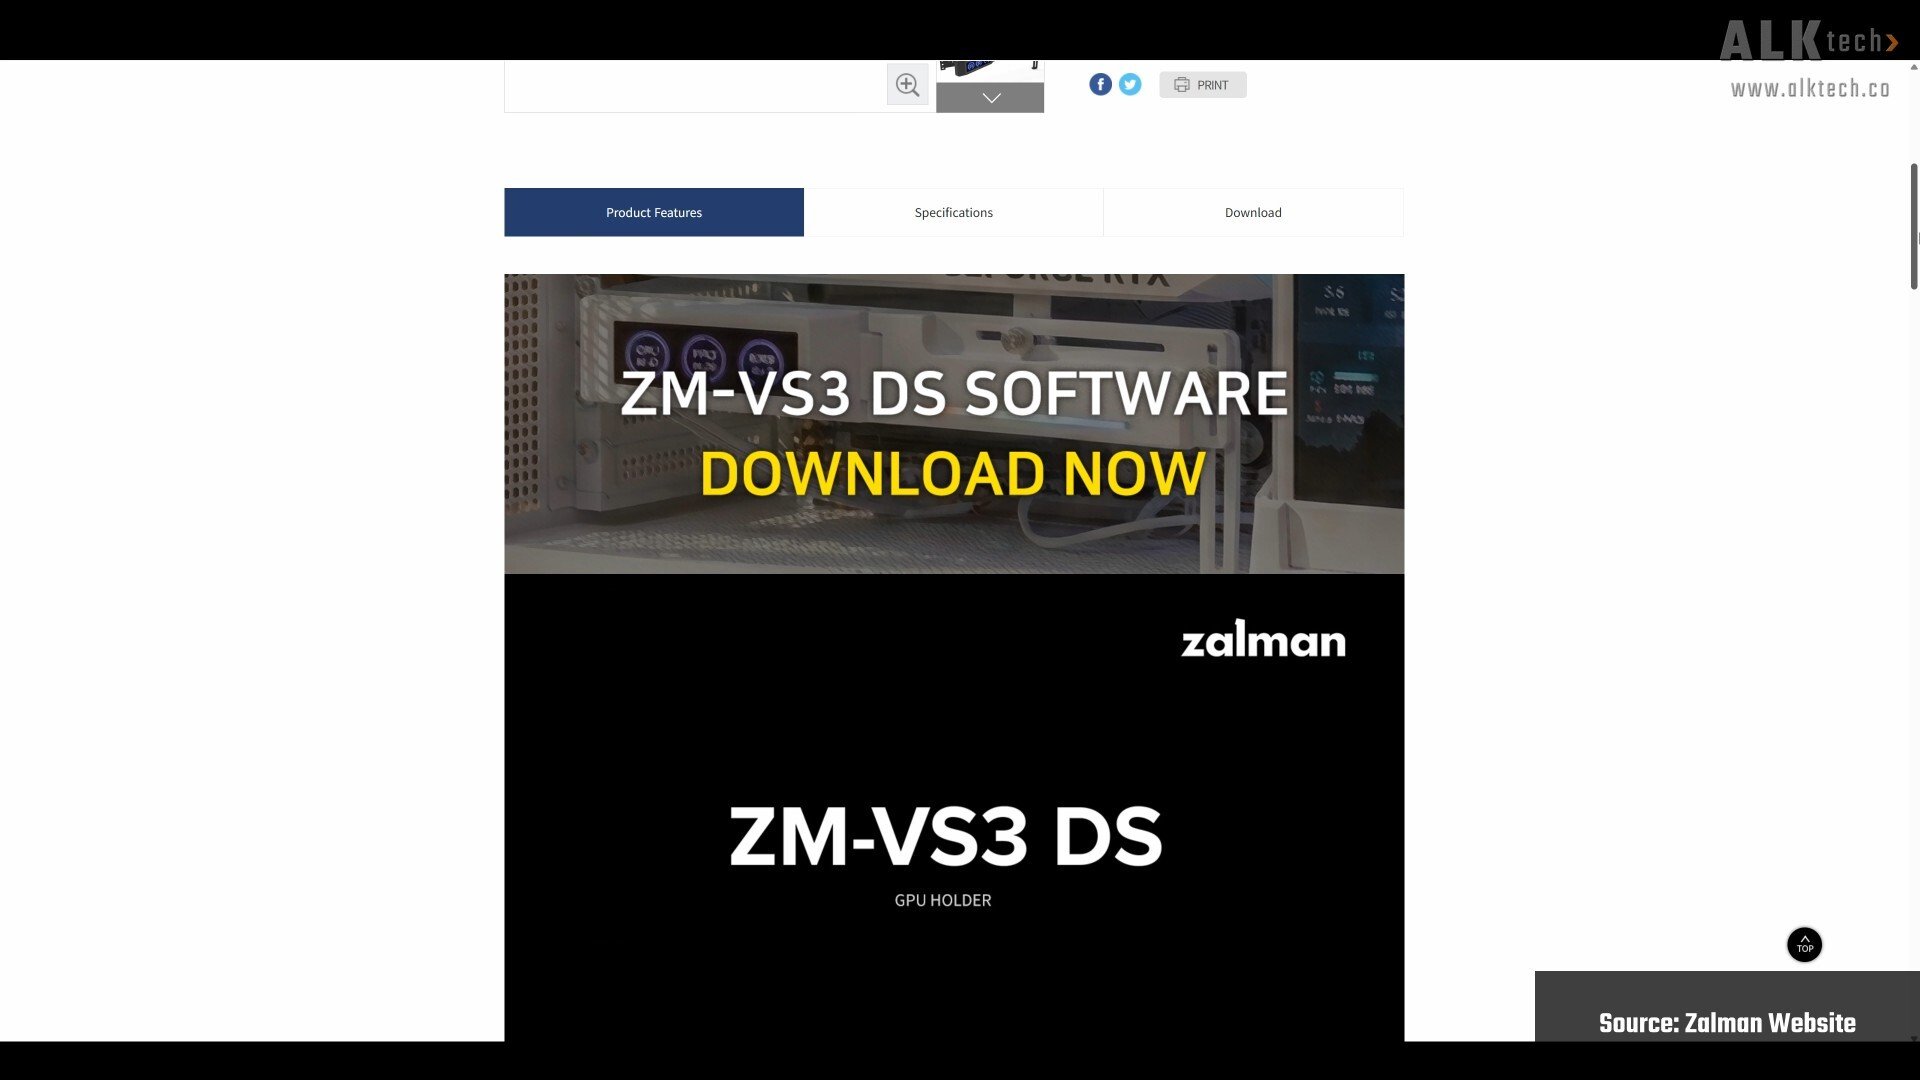 With that, let’s talk about the software that you’ll have to install in order to enable the LCD display screen. It’s called the Zalman CVM app, where CVM stands for Core View Monitoring, and this app doesn’t even have a user interface at all from within Windows, meaning to say that you don’t get any ability to customise what’s displayed on the screen. Once the app has been installed, the LCD display screen then comes to life to display your PC builds CPU and GPU temperature, as well as the time.
Completed Demo Build Aesthetics
.jpg)
.jpg)
.jpg)
Conclusion & Pricing
To sum things up, my take on the Zalman ZM-VS3 DS is that it’s an entry-level GPU support bracket that comes with the added benefit of a basic LCD display screen, which allows you to at one glance, to get information on your CPU and GPU temperatures without any fuss.
Build quality is okay for its price, and I like how end-users have the ability to adjust the position of the LCD screen to get one’s desired viewing angle. That said, given the design of the support bracket, it might not be compatible with certain PC cases, especially microATX ones, and graphics cards that are so thick to the point that you have limited space to install a GPU support bracket. All in all, you’ll want to confirm that your combination of PC hardware components can accommodate the ZM-VS3 DS before purchasing it. Also, when it comes to the LCD display screen, you don’t get any room for customising what’s shown on the screen at all, though I’d say that this is to be expected for a GPU support stand at this price bracket.
In terms of pricing, the ZM-VS3 DS is available to purchase in Singapore for a price of around $35 Singapore dollars, which converts to roughly $27 US dollars for you international viewers.
Get this GPU support stand from Amazon: https://amzn.to/41eqva8 (affiliate link)
Get this GPU support stand from Lazada Singapore: https://s.lazada.sg/s.3pHQ3?cc&t=p-iEu45X7-s2BbOhj0 (affiliate link)
ALKtech may earn commissions from qualifying purchases made using affiliate links, at no extra cost to you as a customer. These commissions go a long way in supporting the platform!
The GPU support stand featured in this article was a review unit provided on loan from CDL Trading Pte Ltd, the exclusive distributor for Zalman in Singapore.